SHTFDad may collect a share of sales or other compensation from the links on this page.
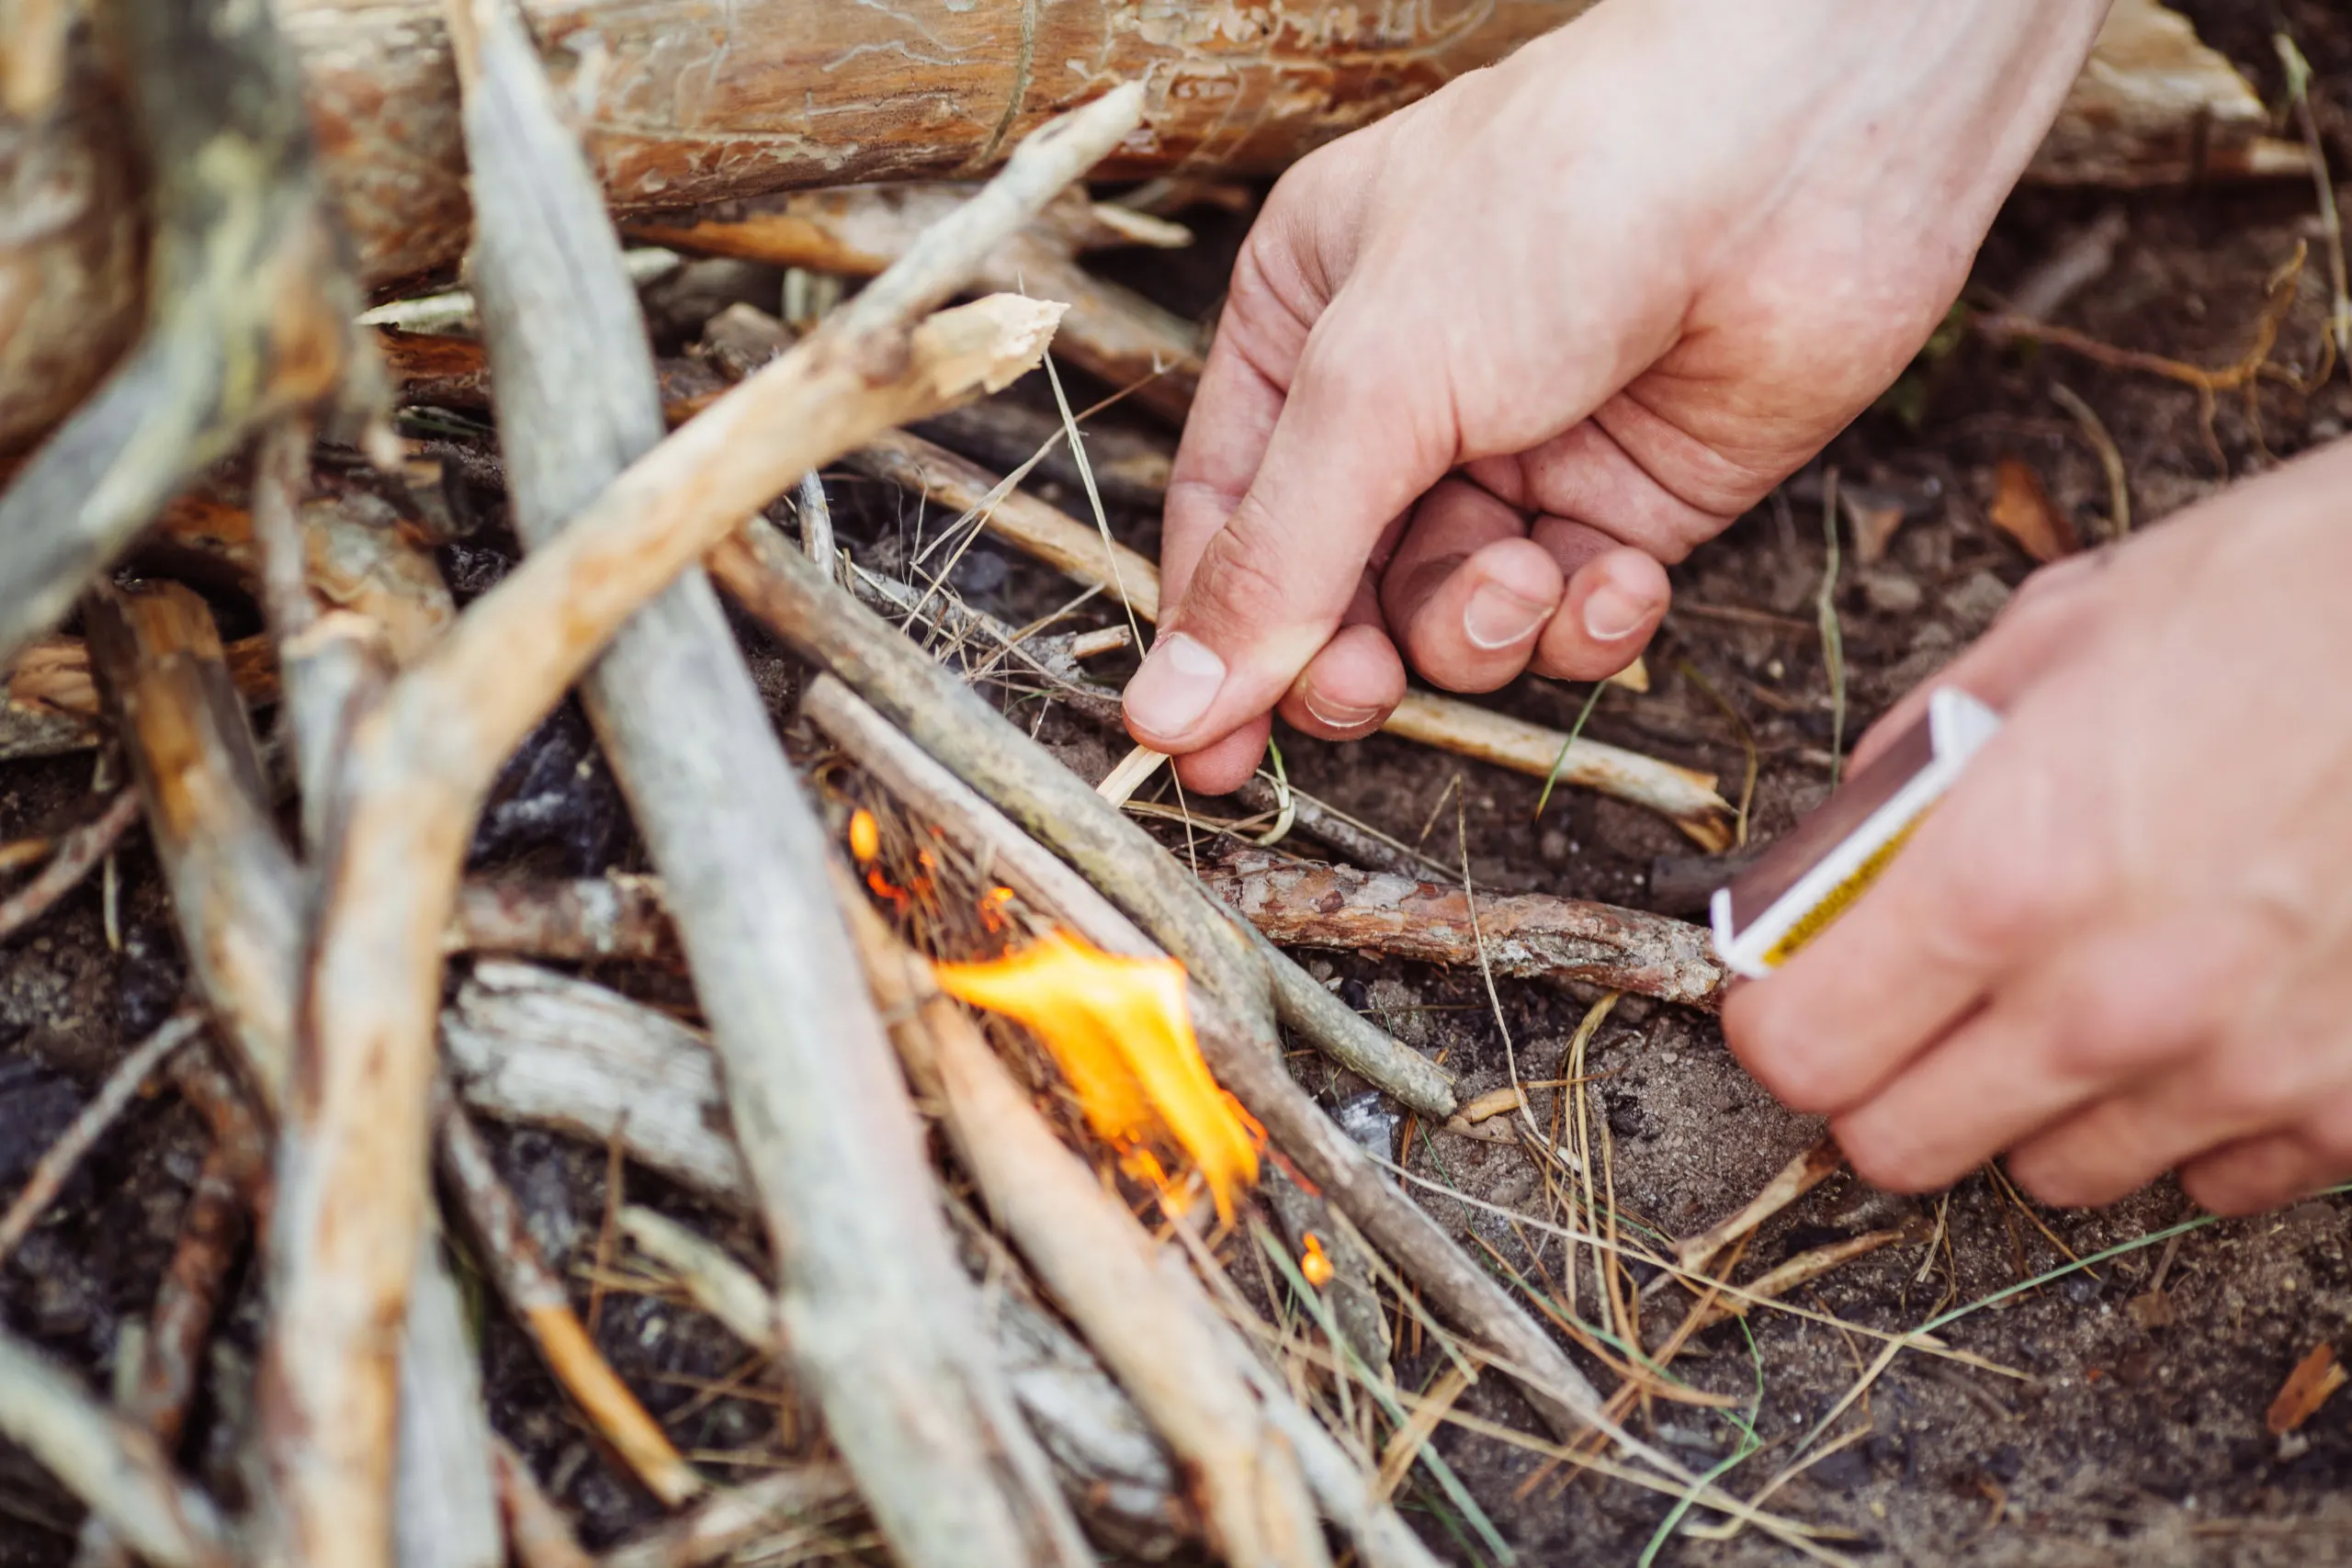
Fire is one of the most effective ways to get your family’s attention. If you are trying to get your kids involved in preparedness and you cannot get them away from Fortnite, start a nice big fire in the backyard. You can teach them how to start a fire with sticks.
We are drawn to a fire. It’s written into our soul. So, the children will come to see. If you let them safely participate they will get even more involved.
My oldest son has made fire with a ferro rod and Fresnel lens. However, making fire with sticks is a little tougher. It takes some determination and the proper preparation of materials. However, there is a certain kind of romance that goes along with making fire this way.
How Long Does It Take To Start a Fire With Sticks?
This all comes down to practice, materials, and skill level. There are people who can make a fire with a stick in 10-15 minutes. I would expect a very long lead time, maybe up to an hour, for your first time.
This includes sourcing materials and carving them along with executing the fire itself.
Preparation And Required Equipment
Having all the things you need ahead of time makes starting fire with sticks a much easier endeavor. In a survival situation, it is going to come down to a friction-generated ember and what you can do with it.
Creating the ember can be a little tricky. However, turning it into fire will be nearly impossible if you are not prepared with a tinder nest or tinder bundle.
Bushcraft Knife
Before you begin any kind of fire-making with sticks, you should make sure that your bushcraft knife is on your person. This will make this process much easier.
Teaching kids to use a knife is another important part of survival training. A simple folding pocket knife is all they will need to do things like process some light tinder or strip the bark off the branches.
Choosing the Right Wood
Long before you build your fire you are going to want to choose the right wood for the job. Making fire with sticks is about having two types of seasoned wood.
The type of wood that you want is often debated, but there is an old rule: “hard on soft”. This means that the wood you will be using as the spindle or plow for your fire drill or other methods should be hardwood.
Hardwood, like oak, maple, walnut, and hickory, is easily identified by running a nail over the wood once it is cut. With hardwood, you will not be able to leave a line from your nail.
Your fire board or the flat piece that you rub against will be made up of softwood. Woods like pawpaw, poplar, pine, and cedar are all softwoods. Give them the nail test and you will see the difference.
Drying Materials
Having the right types of wood is good but your hardwood spindle and your fire board also have to be dry. In fact, they should be well seasoned.
Seasoned wood has had moisture removed from it by sitting in the sun or being dried by a fire. It is not always easy to find well-seasoned wood in the forest.
Greenwood, wood cut from a living tree, is filled with moisture and will provide you nothing but frustration when learning how to start a fire with sticks.
A very important skill in wilderness survival is the ability to identify standing deadwood. This is a tree that is still in the ground, upright, but has been dead for a while. These trees will not have leaves which makes them easy to identify in the spring, summer, and winter months.
If you cannot find dry materials simply carve and dry your wood components in the sun or by a fire.
Bird’s Nest
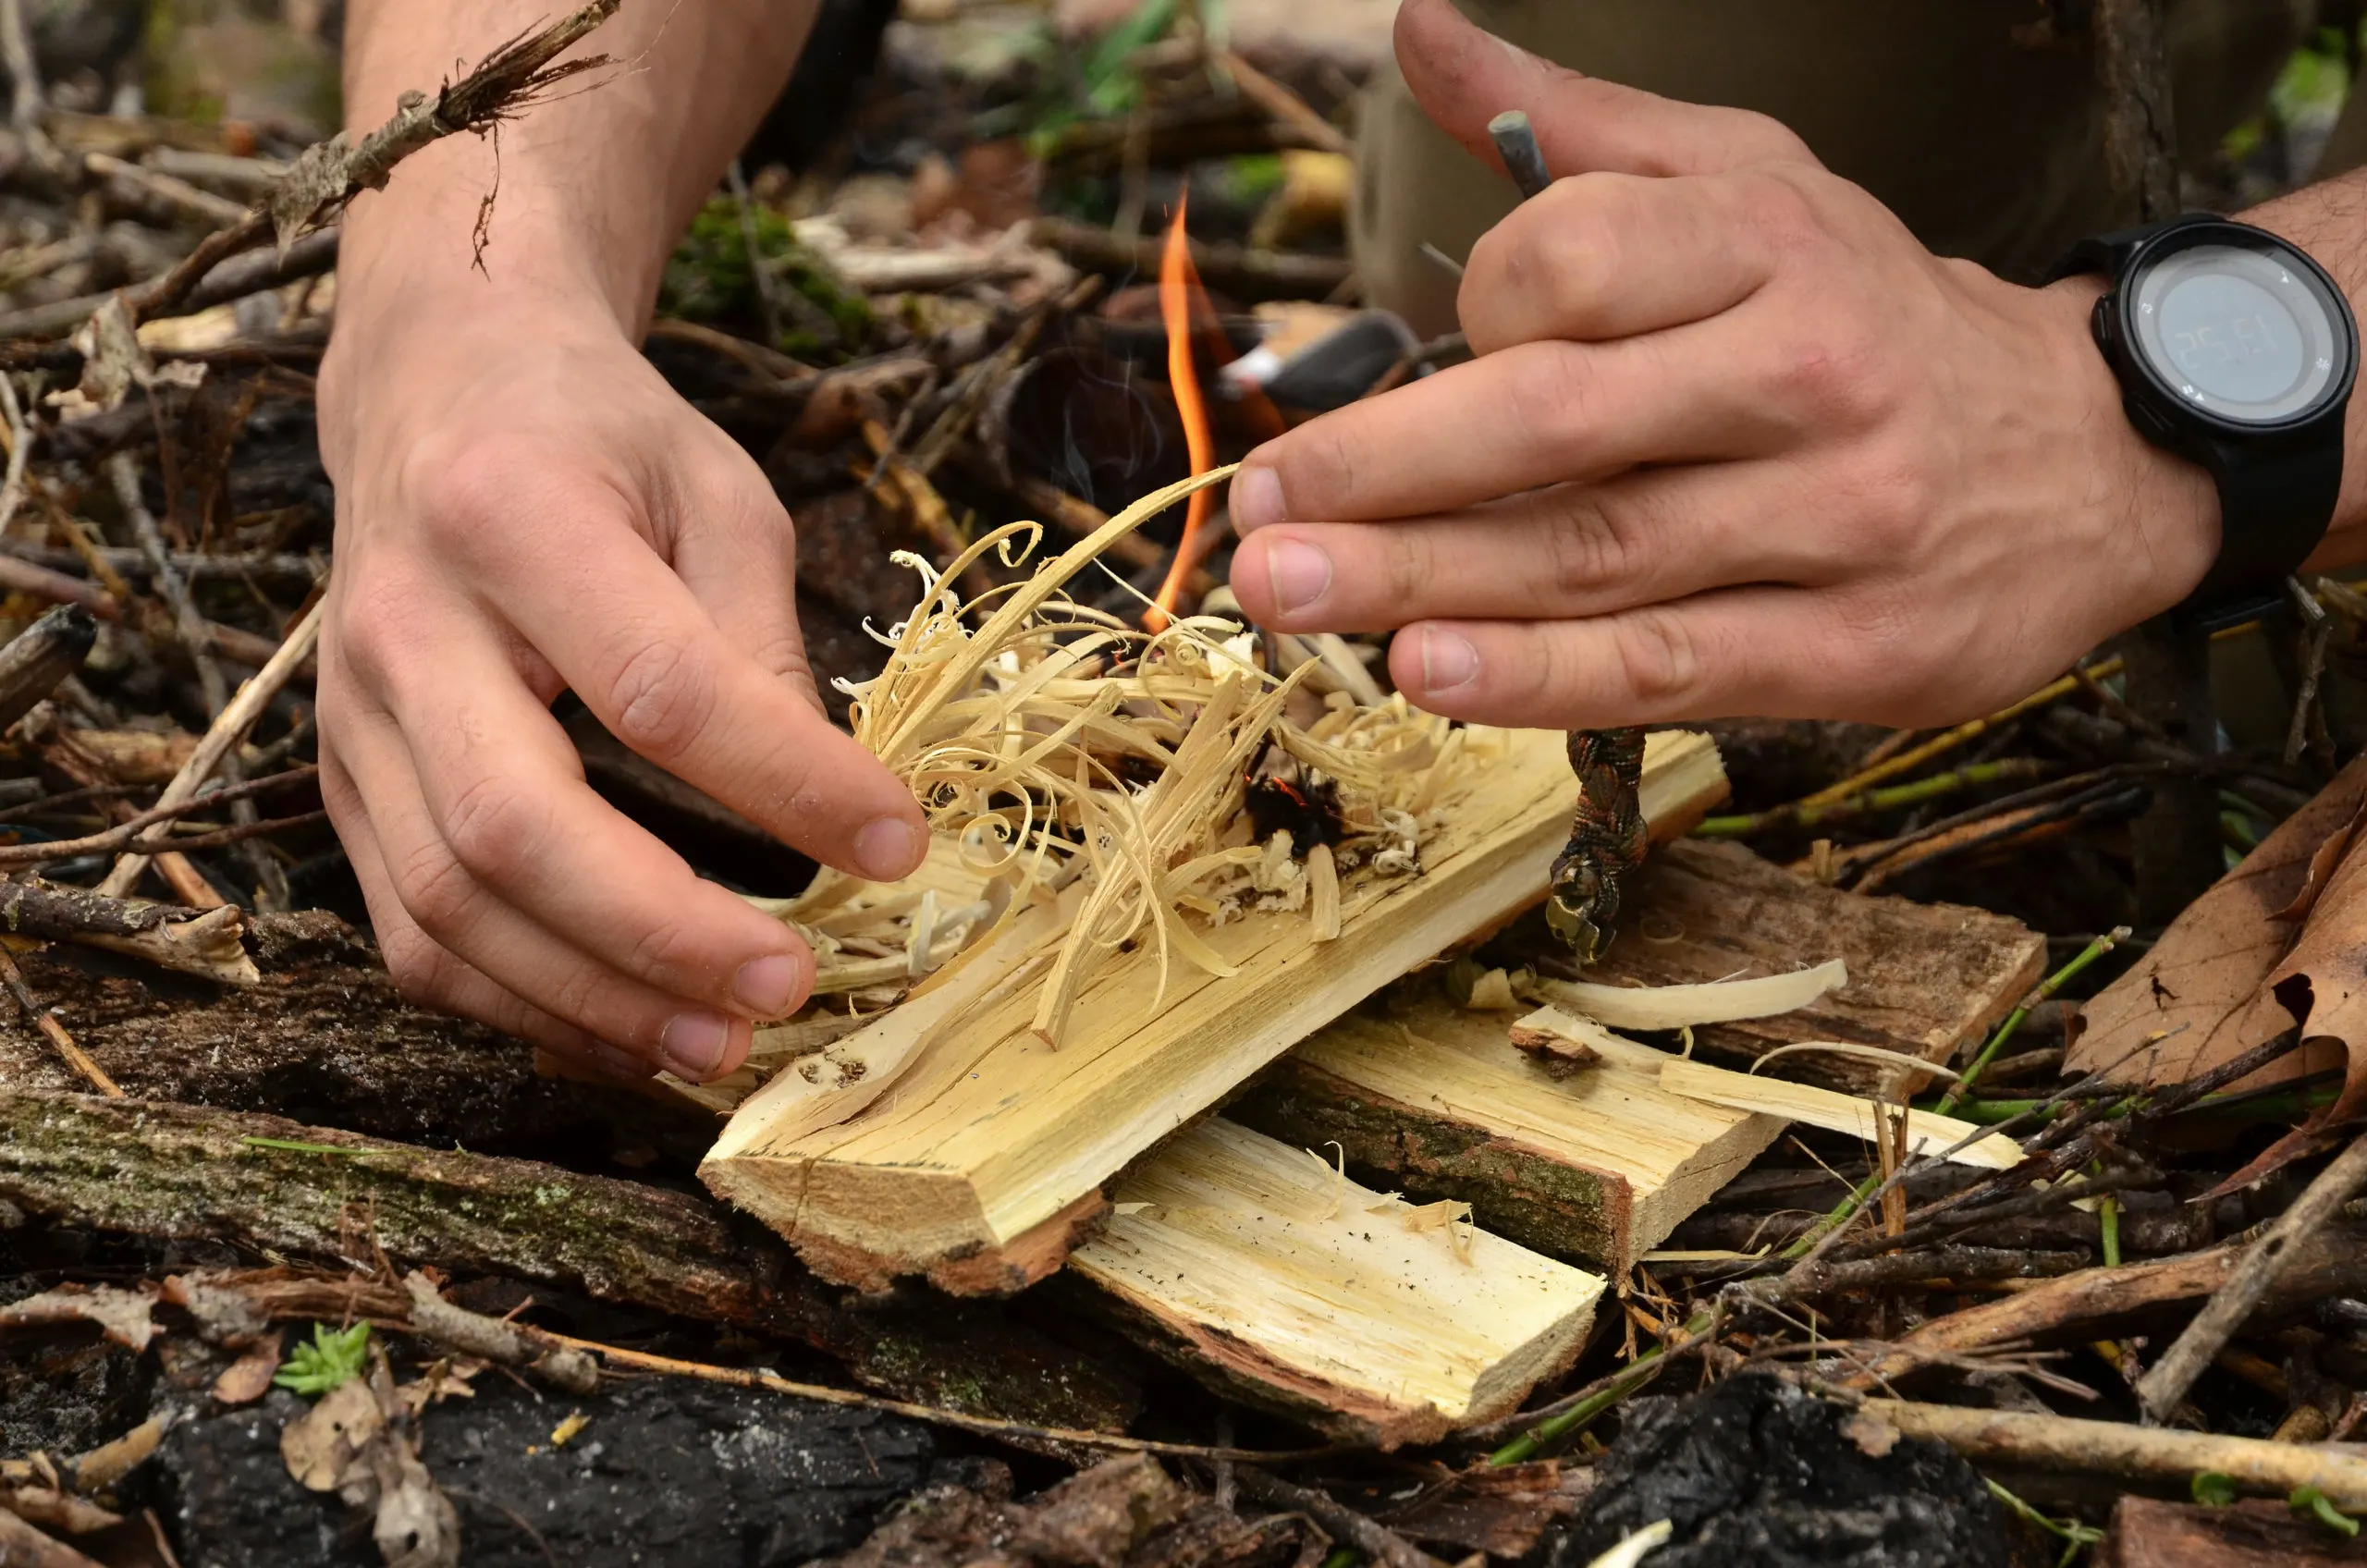
Using things like dried grass, shredded cedar bark, or even fine wood shavings, you can create a bird’s nest. A bird’s nest is exactly what it sounds like. It is a tinder bundle that looks like a bird’s nest, designed to take an ember from your friction wood fire starter and turn it into flames.
My favorite thing to place in the center of a bird’s nest is dried cattail fibers. You could also use the papery shredded river birch bark. A big dry bird’s next is key to learning how to start a fire with sticks.
Staging Materials
Everything happens pretty fast when you are making fire. If I had to chalk up failure in fire starting to a couple of things, it would be too few materials and not staging them.
Staging fire starting materials is a great game to play with kids. Tell them to get the small twigs and make a pile. Then have them get larger sticks and make a separate pile, while you gather the larger fuel. They will get used to seeing these piles around your fire.
Keep your bird’s nest close by while you are starting a fire with only sticks. When the ember is ready it can be dropped right into the nest. If you have your other materials staged close by your fire is just a matter of building a twig teepee shape around your burning bird’s nest.
Carving a Spindle
A spindle is just a simple hardwood stick that is used to spin over your notch to create the friction that will create your ember.
Look for a stick that is about 1½ to 2 inches in diameter. Shave off the bark with your knife and then smooth it out. Carve the top of your spindle to a rounded point and the bottom to a softer point.
Carving a Notch
You need a large rectangular piece of wood that can be carved using your bushcraft knife. Remember “hard on soft” so your notch or fire board should be made of softwood.
Using your spindle, begin at the center of the board in order to create a guide for your notch. Using your knife, cut a notch right up to that mark. This way you will be able to easily dump your ember from the board into the bird’s nest or tinder bundle.
Different Methods Of Starting A Fire With Sticks
The hand drill and the bow drill are two of the most popular ways of making fire with sticks.
Method #1: Hand Drill
To start a fire with sticks using a hand drill you are going to set your spindle into the notch and hold the notch still with your feet.
A longer spindle is better for this method.
Create friction by holding the hand drill in your hands at the top of the spindle and moving them back and forth to spin the spindle as you work your hands downward.
Go back to the top and continue the spinning until you start to see some black or grey powder coming from the friction.
Before long this base of wood powder under friction will begin to smoke. This means you are getting close.
Remove the spindle and blow very lightly on the base that you have created. If the ember is ready it will glow brighter when you lightly blow on it. If you blow too hard it will blow the whole thing away and you will have to start over.
Add the ember to the center of your bird’s nest and lightly blow on the ember until it catches the tinder and grasses on fire.
Method #2: Bow Drill
The bow drill is more efficient and better for practicing with kids because they can easily grab and move the bow.
It requires that you add two more pieces to your fire starting setup. You will want another piece of wood cut into a square large enough to hold in the palm of your head.
This is called the thunderhead. Create a notch at the center of this and press down on your spindle with the thunderhead.
You will also have to create a bow which is just a stout stick that is bent a bit and secured with a length of cordage which can be bankline, twine, paracord, etc. Cut notches at either end of the stick to wrap and tie the cordage.
To begin you are going to twist your spindle into the cordage so that the spindle is wrapped and secured. Place the spindle into the notch of the fire board and cover the top of the spindle with the thunderhead.
Gripping the bow drill move it back and forth to spin the spindle. Put pressure on the thunderhead and you will follow the same process as above.
Method #3: Making Fire with Only Two Sticks – Fire Plow
If you have only two sticks you can still make fire using a method called the fire plow.
Using a fire plow requires a hardwood stick that you can carve a bit of a spindle in on one end. This point will be more exaggerated than your spindle for a bow drill. Ideally, this will be at a 45º angle.
Your other stick has to be pretty big or at least big enough that you can split it and have enough surface area to plow with your smaller stick.
Carve a small channel into your larger stick and ensure that your smaller plow stick point will fit into the channel. I like to stake two sticks into the ground to press my larger stick up against. Then it’s time to plow.
With the same theory as the first two methods in mind, we simply drive the plow back and forth inside the channel creating friction until you make that ember. A notch on the side of the channel or at the end can make dumping the ember out much easier.
How To Start A Fire With Wet Sticks
If you are trying to start a friction fire with wet sticks you are going to drive yourself insane. Wet sticks must be dried out if they are going to be of any use to you.
You will also have to check what kind of “wet” you are dealing with. You see, good wood can get wet from a downpour and simply be dried off with a shirt or in the sun for a bit.
Punk wood is wood that has spent a lot of time wet and is basically deteriorated beyond repair. Punk wood breaks very easily and feels almost mushy inside. This is worthless if you are learning how to make fire with sticks.
Conclusion
Kids love fire! The different ways of making fire should be a pretty easy sell to your child.
I would not recommend making fire with sticks as your first fire starting event with kids.
You are likely going to struggle that first time. You may even want to practice this a few times before getting your children involved.
If you stage and dry your materials you are going to feel like a real superdad (or supermom!) when you make that first fire and your kids’ eyes light up!
Resources:


