SHTFDad may collect a share of sales or other compensation from the links on this page.
Beekeeping is an integral part of the homesteading journey. Consequently, there are many benefits to the beekeeper, the garden, and the bees themselves.
And there is a lot of joy in having bees in your garden, not to mention the delicious honey that can be harvested from the hives.
Here’s how to start beekeeping for beginners: all you need to know to successfully keep bees.
But don’t fool yourself into thinking it is an effortless endeavor. It takes work and management to build and maintain a healthy, thriving hive. But keeping bees is worth it in the long run.
It is important to know the basics of beekeeping before you decide to establish a hive or seek further education. Such classes are offered by local beekeeping associations and university extension offices.
How To Start Beekeeping For Beginners
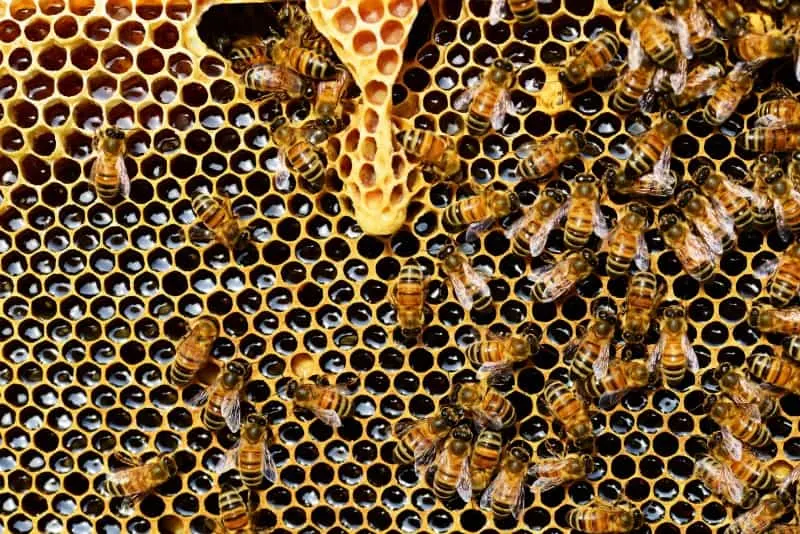
Over the course of this article, you will learn what you can do to get started in beekeeping. Learning to keep bees is not easy, but it’s fun and will help your family as well as the environment.
I suggest you get yourself a beekeeping journal to keep track of your journey. This one, written by a master beekeeper, will suggest things you need to jot down to remember next year.
- Anderson, Charlotte (Author)
- English (Publication Language)
- 40 Pages - 01/11/2018 (Publication Date) -...
It also has a calendar, monthly hive record sheets, and forms for individual hive notes. A must have for any new beekeeper!
1. Hive Choices
When considering the beehive structure, where the bees will make their home, in the US, there are three types of hives.
These choices are; the Langstroth Hive, the Warre Hive, and finally, the Top Bar Hive.
The Warre Hive is very obscure, really expensive, and difficult to manage, so for the purpose of this article, we are going to focus on the other two.
The Langstroth Hive
Design
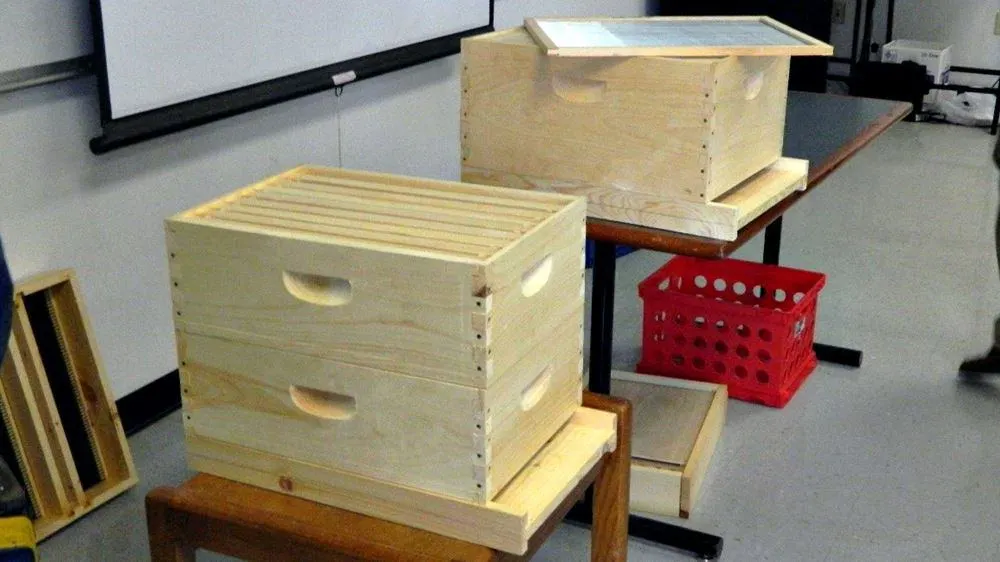
Overall, this is the most popular hive design in the United States. It was invented by Dr. L. L. Langstroth, in 1851. In contrast to the top bar hive, where bees build out the comb and fill it entirely, this design has removable frames.
Sometimes the hive will have wax or plastic foundation, sometimes without, allowing free-form comb creation. The design really is an advantage to the beekeeper, allowing easier access to the hive for bee inspections.
A Langstroth hive consists of:
- a bottom board
- brood chambers
- honey supers
- an inner top cover and
- an outer top cover
The Langstroth hive comes in two standard sizes, a 10-frame width or an 8-frame width. The advantage of the 8-frame option is that it is lighter and easier to move around and the boxes are lighter when harvesting honey.
- [Made In The USA] - Cut, carved, and crafted in...
- [Amish Made] - Deeply rooted in American history,...
- [Complete Beehive] - Busy Bees 'N' More beehives...
Advantages
The Langstroth hive boasts several advantages. Harvesting honey is really easy with this hive design. To access the honey, you just need to remove a frame, harvest the honey and replace the frame.
Standardization of the hive components makes finding replacement pieces and tools easy. Additionally, this standardization also makes it easy to transfer bees from hive to hive in the case of a weak hive needing an infusion of strong bees.
This also makes creating a new colony easier, simply move frames of bees or even a frame with an existing queen.
The Langstroth design is also better at ventilation, the screened bottom board, inner cover, etc., move air through the hive, which is important on hot summer days. Consequently, this feature still allows bees to cluster in the center of the hive when the weather turns cold.
Drawbacks
While there are a lot of advantages to this hive design, there are some drawbacks.
- The weight of a full super of honey can reach 60 lbs, making it difficult for one person to lift it from a hive.
- Another disadvantage is the rectangular shape; bees prefer building comb in tall, rounded structures. To accommodate the bees’ natural behavior, the beekeeper will need to move frames around in a hive.
Top Bar Hives
Design
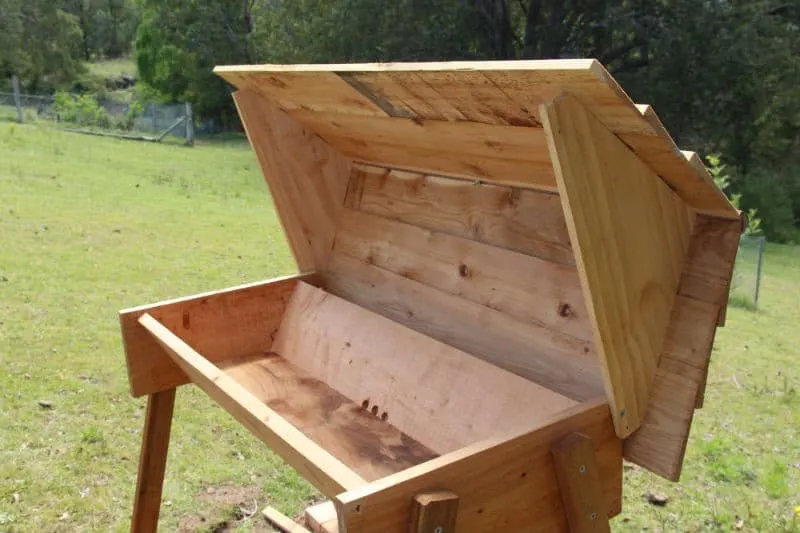
The design of the top bar is centuries old, but it has recently become popular in the United States. This is due mostly to the hip trend of “natural beekeeping” having grown.
This type of hive uses wooden bars suspended at the top of the hive cavity. Sometimes wax strips are attached to the underside to encourage the bees to build comb. The cavity is built atop legs with screened ends for ventilation.
Advantages
There are many advantages to this type of hive: first, the price. You can make a top bar hive without significant investment. In fact, you could make most of it out of scrap lumber if you are handy. But the advantage falls away if you look to purchase a hive.
From a component storage perspective, you don’t have to keep extra hive parts (like supers) around empty. In a top bar hive, you can block off part of the hive until the bees need room to expand. It is, however, not space-saving in its place as it takes up more square footage than other types of hives.
Finally, from a maintenance perspective, with a top-bar model, the bees avoid disruption when you work in the hive. That said, if your main or only goal is to introduce more pollinators into your environment, this may be the best design.
Drawbacks
There are disadvantages to this type of hive, particularly with harvesting honey, as well.
With the Langstroth hive, you can use centrifugal force extractors to harvest the honey. This leaves foundations and additional wax to give back to the bees to build upon again.
With the top bar design, you must slice and crush the comb to extract the honey. This creates more work when the bar is returned to the hive.
2. Understanding Bees
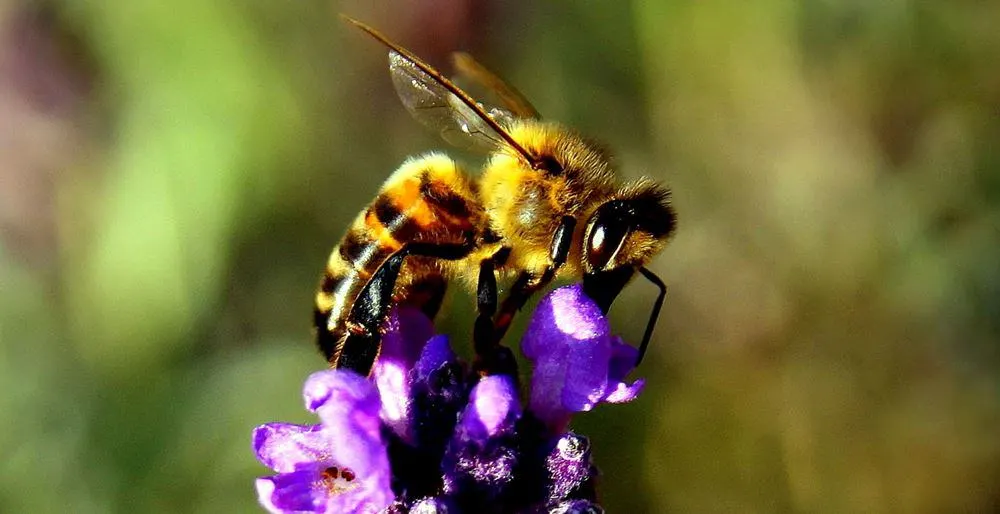
You should have a basic understanding of the anatomy, life cycle, and characteristics of your honey bees.
Most of the bees sold commercially in the United States are Italian honey bees. These bees are mild in temperament and they are excellent honey producers.
Italian honey bees also tend to survive cold winters, making them a great choice for northern climates. Unfortunately, with all their advantages, they are quite susceptible to disease and infestation. Good hive maintenance and care of the bees are important.
Beekeepers Association
I urge anyone who plans to set up a beehive at their home or garden to take a class on beekeeping from your local Beekeepers Association or through their local university extension office. You can find a link to a list of those associations here.
These classes give you a solid foundation and understanding of:
- the anatomy of a bee
- how bees function
- the types of bees in the hive
- their average life cycle and
- how to set up and maintain your hives
These associations will also have information on where to purchase hive components as well as bee stock. It is important to work with a reputable bee provider if you plan to purchase bees.
Swarm List
A swarm list is a group of people willing and able to take a captured swarm and provide a new home.
This service is often free, which is an advantage since packaged bees can cost an average of $75 per 3 lbs box.
3. Setting Up the Hive and Installing Bees
Materials you will need to purchase:
- at least three brood boxes (deep)
- a screened bottom board
- an inner cover and
- an outer lid to start
You will add components later such as a queen excluder, honey supers, etc.
Assuming you purchased a Langstroth hive, you will need to seal, paint or otherwise protect the outer surface of the hive components.
You should not treat the interior portion of the hive components.
Elevate the hive off the ground. You can use masonry blocks or you can build a structure to set up the hive.
Step 1
Begin by placing the screened bottom board on your elevation structure and one deep brooder, the inner and outer cover. Remove a few frames from the brooder box and set them aside.
Step 2
Your package of bees will include a lot of bees, a caged queen, and a feeder can. Open the box by removing the feeder can and replacing the wooden cover.
Step 3
Extract the queen’s cage, remove the cork plug, exposing a small candy that will be eaten away by the hive bees from the outside and the attendants from the inside until the queen is released (2-3 days). Place the queen’s cage between two frames and secure it with the included metal strap.
Step 4
Tap the box of bees gently on the ground to knock the bees to the bottom of the box, this does not hurt them, but be gentle.
Step 5
Turn the box over and dump the bees into the hive box cavity, get as many out as you possibly can, and then set the box near the entrance to the hive. Replace the frames you removed gently as not to crush any bees in the process.
Step 6
Finally, place the inner cover on the hive and the top cover. The balance of the bees will find their way into the hive over the next couple of hours.
Here is a great instructional video on installing bees:
4. Feeding Bees

New colonies are usually purchased in the early spring, long before there is enough nectar and pollen to survive on, much less build out a comb and begin reproducing. It is important to feed your bees for the first few weeks until the weather warms and the available fodder increases.
Feeders
There are essentially two types of feeders for hives. A top box that the bees crawl up into to retrieve sugar syrup and a front entrance feeder that slips into the entrance of the hive.
I prefer entrance feeders. We have used both and unfortunately, the top box feeders lead to more bee deaths by drowning.
- Easily Installs In The Entrance Of The Hive
- Allows You To View Feed Levels Without Disturbing...
- Easy To Clean
Feed
In the spring, a syrup made of a 1 to 1 ratio of sugar to water is appropriate. It is a thin feed that encourages comb build out. In the fall, a thicker sugar syrup is more appropriate to provide more robust nutrition for the winter months.
5. Organic Protection Against Infestation and Disease
Honey bees are susceptible to attack and infestation of tracheal and varroa mites that attach themselves to the bees and slowly sap their vitality and energy leading to colony collapse. In addition, they can be infected by a fungal infection called nosema.
Finally, they can be infected by a bacterial spore called American foulbrood which can kill off the larvae of the hive, leading to collapse.
Organic Approach
You can take an organic approach to bee maintenance and protection by giving them organic fodder to graze upon with garden beds of rosemary, thyme, lemon balm, and mint.
We plant mint around our hives since mites hate the smell and taste of mint. It often drops off the bees as they fly over the plants.
Essential Oils

Finally, in their spring feeds and fall feeds, we add food-grade essential oils. Each of these oils is geared toward avoiding infestation and infection. Here’s what we add to each gallon of feed:
- 4-5 drops of peppermint and spearmint oil – protect the bees by adding the oils to their bloodstream, they become unappetizing to mites.
- 3-4 drops thyme oil – a volatile oil that protects against mites and the bacterial infection American foulbrood.
- 3-4 drops of tea tree oil – protects against fungal infections such as nosema.
- 2-3 drops of lemongrass oil – to avoid infestations such as wax moths and other insects.
The choice, of course, is yours to go completely organic or begin with organic practices and move to more chemical management as the situation dictates.
- 100% PURE/UNDILUTED: Our essential oils are highly...
- ESSENTIAL AROMATHERAPY: Day-to-day tension can...
- MULTI-USE/BENEFITS - Aromatherapy is an ancient...
- GIVE YOUR IMMUNE SYSTEM AN EXTRA BOOST: When...
- 100% CERTIFIED PURE THYMUS VULGARIS: Our red Thyme...
- BATCH SPECIFIC GC-MS REPORTS ON EVERY OIL: Every...
- GIVE YOUR IMMUNE SYSTEM AN EXTRA BOOST: When...
- 100% CERTIFIED PURE THYMUS VULGARIS: Our red Thyme...
- BATCH SPECIFIC GC-MS REPORTS ON EVERY OIL: Every...
- 100% Pure & Natural Lemongrass Essential Oil -...
- Don't Fall Victim To Cheap Diluted Lemongrass Oil...
- Most 4 Ounce Lemongrass Oils Contain Less Than 1/3...
6. Harvesting Honey
Langstroth Hive
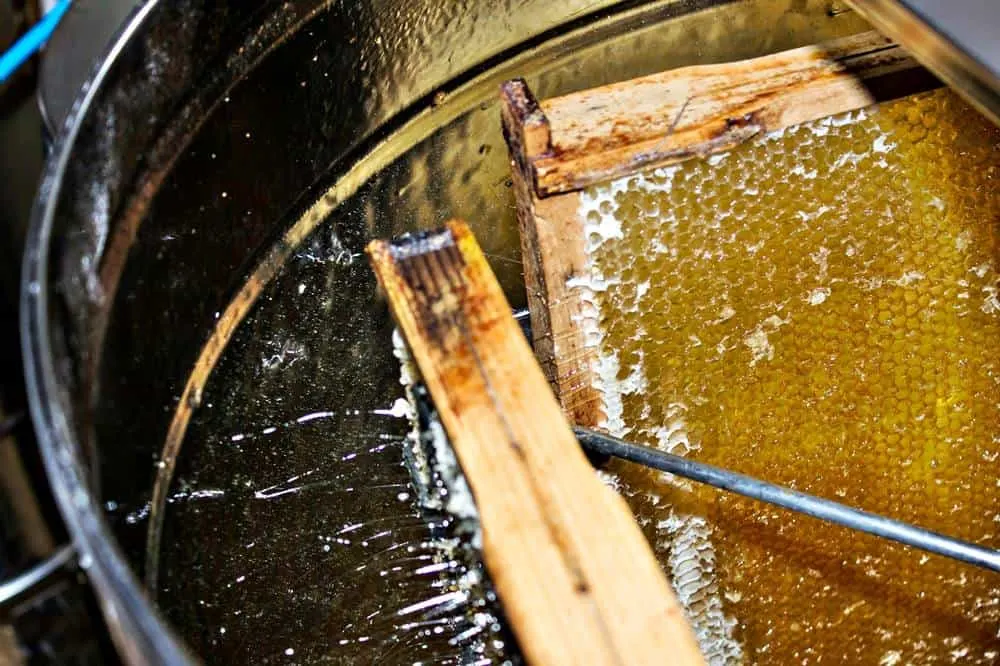
- Remove the frames from the honey super
- Uncap the honey from the wax
- Place the frames in a centrifuge to spin the honey out of the frame
- Collect the honey in the bottom of the extractor to be screened and decanted
Top Bar Hive
- Remove the freeform frames
- Cut from the top bar
- Crush to extract the honey to be filtered and decanted
7. Winter Care
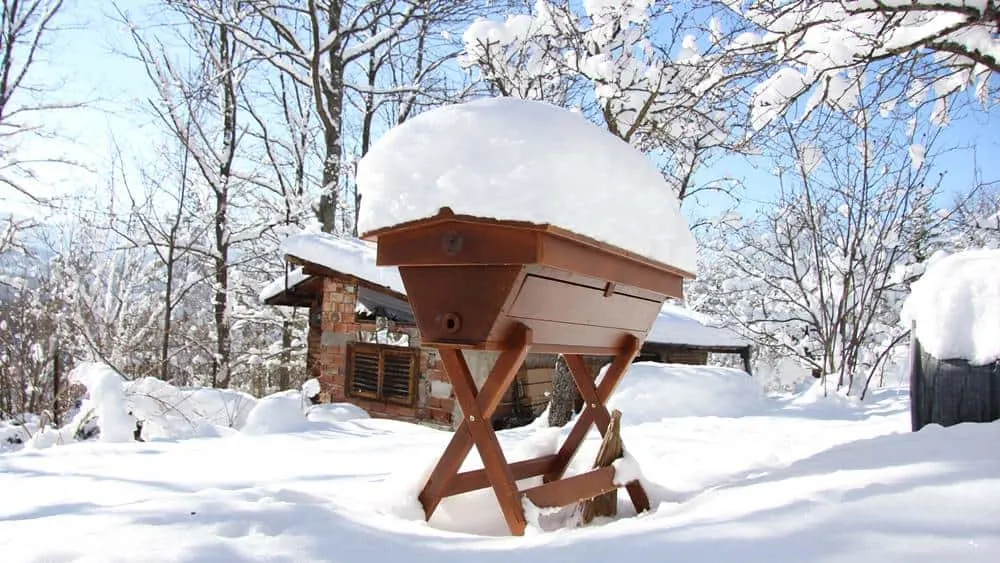
Winter can be a terrible time for bees. As a result, this is often the time that colonies die. Sometimes from cold and snow, sometimes from disease, however most of the time they die from starvation.
It is important to leave enough honey, along with supplemental feedings to ensure the bees have enough food stores to survive until spring.
Make sure there is a windbreak near the back of the hive to protect it from the elements. This can take the form of a fence or in some cases a wall of bailed straw or hay.
You can also wrap the hives in insulation. We have employed Tyvek house wrap or rigid foam insulation panels in the past.
Finally, we feed our bees late in the fall with syrup of a 2 to 1 ratio of sugar to water, enhanced with the essential oils listed above.
If our winter is harsher and colder than normal, we will also make a sugar cake which will help prevent freezing. Lay it on the top of the brood chambers on parchment paper. Consequently, the bees will chew away the paper and access the sugar cake.
Beekeeping books
Want to learn more? Here are a few beekeeping books that will help.
- Sammataro, Diana (Author)
- English (Publication Language)
- 320 Pages - 07/15/2011 (Publication Date) -...
- Used Book in Good Condition
- Hardcover Book
- Jones, Richard A. (Author)
- Flottum, Kim (Author)
- English (Publication Language)
- 240 Pages - 01/02/2018 (Publication Date) - Quarry...
Conclusion
Keeping bees is a terrific hobby that protects the pollinators we rely on so heavily.
It is also rewarding for the gardener with more pollination and higher yield from the garden. It also provides a sweet reward in the honey and beeswax that can be collected throughout the season.
However, these rewards are not without work and effort. Knowing the facts and being informed about proper beekeeping practices before you take the plunge will prevent mistakes that can endanger the bees as well as the beekeeper.
Resources:


