SHTFDad may collect a share of sales or other compensation from the links on this page.
One of the safest and most dependable methods of preserving foods is pressure canning. This method can produce incredible results if you practice it correctly.
You can use it to preserve meats, poultry, seafood, and vegetables safely.
It offers plenty of benefits for home canners. One of these is the chance to preserve not just highly acidic foods, like pickled items, jam, and tomatoes.
It also allows them to preserve other foods, like soups, spaghetti sauces, vegetables, stews, and meat.
Benefits of Pressure Canning
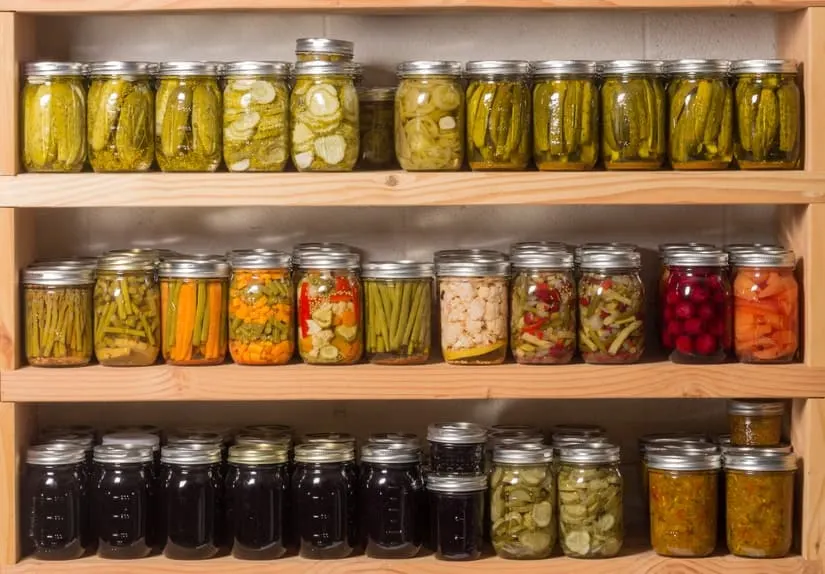
Gathering information about how to pressure can is important for beginners like you. You need to be well-informed about this method to determine how you can enjoy its many rewarding benefits, including:
Variety
The whole method does not just involve pressure canning tomatoes and other acidic foods. It offers a variety because it also allows you to apply it to many pressure canning recipes.
It even provides opportunities for preparing different recipes that are quite difficult to preserve.
You can also safely preserve low-acid foods, like soups, meats, squash, and veggies, through this method. If you are a fan of canning pickled items and tomatoes then learning how pressure canners work will certainly give you unlimited choices in terms of recipes.
Through this technique, you will no longer have to visit the grocery too often. It is because you will be able to preserve the foods you need anytime.
High Yield
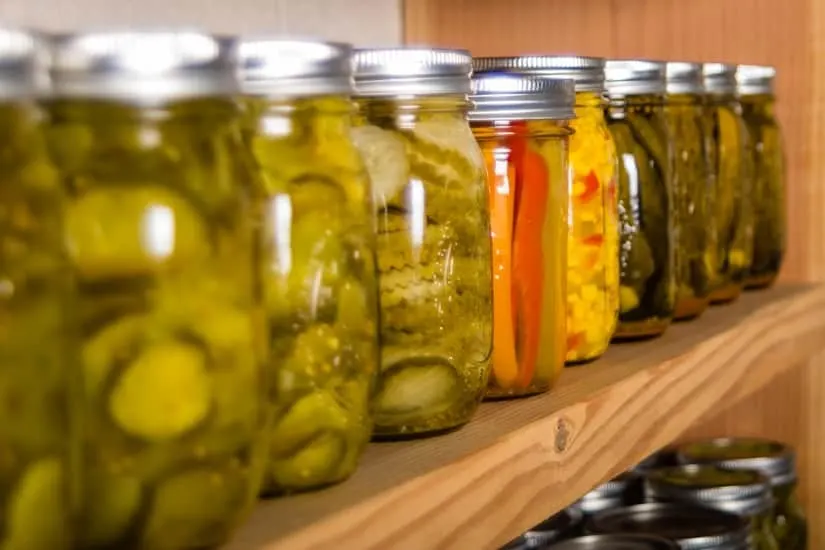
Another advantage of this food preservation method is its high yield. It is even possible to double the expected output or yield. All you have to do is to double-stack jars in your pressure scanner.
It would be best to buy an extra flat canner rack. It helps to buy a Presto pressure canner as this brand allows you to buy its parts and components a la carte.
You can then start stacking through its components. Based on the size of the jar, you can create at least 19 pints for every batch.
- The only method recommended safe by the US...
- Doubles as a boiling-water canner for preserving...
- Constructed of warp-resistant heavy-gauge aluminum...
Convenience
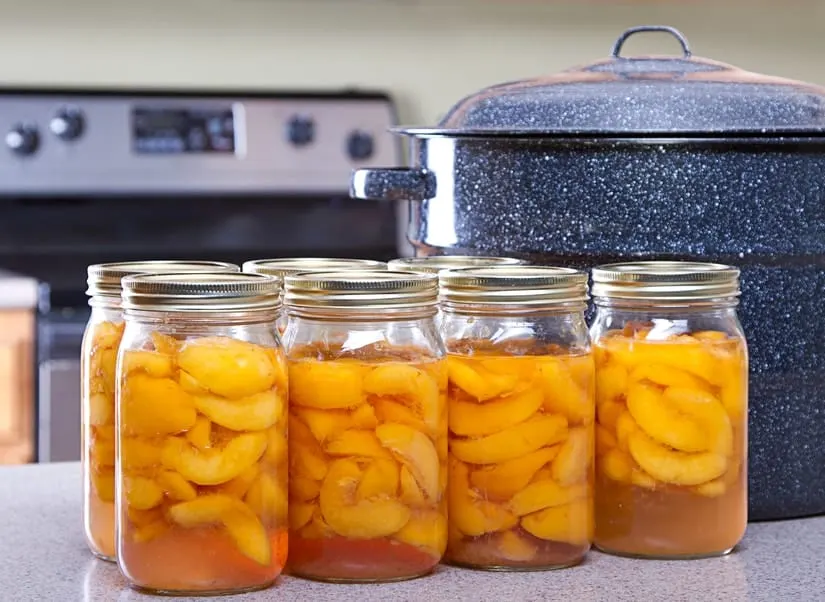
Another benefit of learning how to can homemade dill relish, fruit, beans, meat, soups, and any other food you want is extreme convenience. You will be glad to know that most recipes in this method are convenient to prepare while remaining flavorful.
Pressure canning green beans, delicious spaghetti sauces, soup recipes, chicken pot pie filling, stews, and chili is possible.
Having these pressure-canned recipes around will allow you to have healthy meals ready in just a few minutes. With such foods, you can feed a busy family through another means aside from the drive-through.
Try our Sweet Cherry Jam recipe, with a twist!
Pressure Canning Supplies
- Mason jars with lids (be sure the lids haven’t been used before)
- Pressure Canner and Cooker
- Magnetic lid lifter
- Jar lifter
- Head space tool
- Canning funnel
Pressure Canning Steps for Beginners
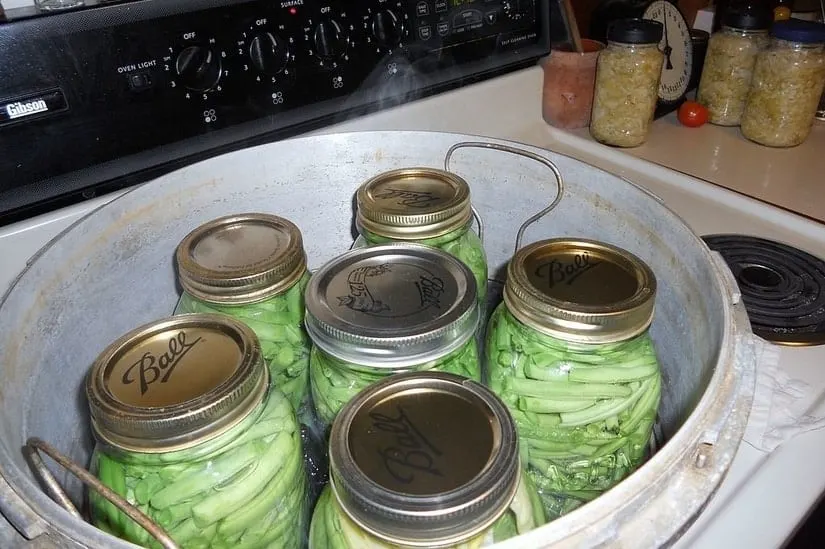
If you want to know the actual steps involved in pressure canning for beginners then you have come to the right place. Here are some simple steps that you can follow to guarantee the correct execution of the procedure:
Step 1 – Put the rack in the canner
The first thing that you have to do is to put the built-in removable rack in your pressure canner. Ensure that you position it in the center then pour enough water. Load the jars afterward. The amount of water to add should depend on the instructions indicated by the manufacturer.
If there is no recommended pressure canning water level, the safest route should be around three inches of water depth. Pour more water, though, in case the pressure canning times can go for more than forty minutes.
Bonus tip: add just a bit (around 1 tablespoon) of vinegar to the water. This will help prevent mineral deposits on your jars and pressure cooker from the water.
Step 2 – Turn on the heat for hot-packed foods
Turn on the heat in case the foods are hot once you put them in the jars before you process them. Begin heating the water, too.
However, for cold-packed foods, do not turn on the heat yet as doing otherwise might cause the jars to crack upon putting them in the water.
Step 3 – Fill the jar
Start filling the canning jars. Make sure to leave a headspace of around one-half to one inch. Screw canning lids on the jars then lower them to your pressure canner with the help of a jar lifter.
The next thing to do is hold the canning jars upright. This is important in preventing the food from getting on the interior lids’ adhesive ring. Make sure that there is also some room in between each jar.
Step 4 – Put on the lid of the canner
Close your pressure canner by fastening its lid. This step, however, will greatly depend on your chosen brand. Make sure that the petcock or vent pipe remains open. This is also the perfect time to set the heat at a high setting.
Check whether steam starts escaping from the petcock or vent vigorously. If it does then begin timing. Stick to the recommended pressure canning times indicated by the manufacturer.
This is usually the length of time you should let the steam exhaust. If the manufacturer does not provide such info then the safest bet is around ten minutes.
Step 5 – Increase pressure to begin processing the food jars
What you should do in this step is to close the petcock or place a weighted dial gauge on the canner’s vent. The gauge will let you know whether the pressure has already increased.
Whether you are pressure canning meat or any other recipe, make sure that you are aware of the recommended pressure it should reach at this time.
If such pressure is already reached, start timing based on the instructions indicated in the recipe you are following. Make adjustments to the heat if necessary. This is important in maintaining the recommended level of pressure during the whole processing period.
Raise the heat in case the pressure goes lower than the recommended level. This should bring it up again.
Step 6 – Depressurize
Before opening your pressure canner, it is important to depressurize it first. Do this after the completion of the timed or scheduled processing indicated in the previous step. Turn off the heat. Leave the canner for around five minutes to cool down.
Open it only after its gauge indicates zero pressure. This will allow the canner to not only cool down but also depressurize. To open it up, slowly open the petcock. You may also want to take off the weight added to the vent.
Observe whether there are hissing sounds once you begin doing this step. If there is then note that this is a sign that your canner was not depressurized completely. In such a case, close the canner again or allow it to stay weighted. Let it depressurize or cool down for five more minutes.
Step 7 – Open the lid
The last step should involve opening the lid to release steam. Use a jar lifter to take off the jars. Be extra cautious to prevent the jars from tilting. Let the jars cool down completely by putting them in a surface that can resist heat.
Do not disturb them during this time. Once they are completely cool, check whether the lid of each jar is sealed. Add a label to each jar then store it in a place that does not expose it to direct heat and light.
Choosing the Best Pressure Canners
If you are a beginner prepper or canner then you might be interested to learn everything you can about pressure canning 101. Now that you know the simple steps involved in this food preservation method, it is time to learn how to choose the best pressure canners.
You may also want to check if you can find the best pressure cooker for canning in the market. It is because you can also use this appliance to preserve foods through the canning method.
Just make sure that you do a comparison of pressure canner vs. pressure cooker. This will help you determine the better option between the two in your case. If you decide to go for pressure canners then make your choice based on the following factors:
Cost
- The only method recommended safe by the US...
- Doubles as a boiling-water canner for preserving...
- Constructed of warp-resistant heavy-gauge aluminum...
Determine how much you intend to spend on the canner. Go for an affordable one of top-notch quality. It should also be useful for several decades.
In most cases, these canners cost around $80 to $500. You may want to go for Presto canners, especially if you are looking for an affordable and high-quality brand.
Capacity
Whether you intend to use the item for pressure-canning soup recipes and any other foods, make sure to check the capacity carefully. In most cases, the capacity is measurable in quarts. Also, note that depending on how large your kettle is, it should be able to take a couple of jar layers.
Measure the capacity by assuming that your jars are not the wide-mouth variety. It is because adding wide-mouth jars into the mix might cause the rack to be unable to fulfill its promised capacity. This might cause you to process an additional batch, which is time-consuming.
It would be best to go for a pressure canner with a capacity that perfectly suits your requirements and needs.
Material
Check the material used in creating the canner, too. Most pressure canners use either stainless steel or aluminum in their construction. Aluminum-based ones are great choices because aside from being affordable, they are also lightweight and conductive.
However, this material is prone to staining with heavy use and abuse. If you wish to go for a more durable canner then the stainless steel ones are preferable. The only problem with stainless steel canners is that they are more expensive and heavier than aluminum.
Frequently Asked Questions
What are the benefits of pressure canning?
The pressure canning process helps to remove bacteria. This allows you to safely preserve low-acid foods, ultimately providing a much larger selection of food types to choose from.
How long does canned food last?
According to the USDA high-acid canned food can be stored for 12-18 months while low-acid canned food can be stored from 2-5 years.
Does pressure canning save money?
Pressure canning is not only a money-saving option over buying canned food at the store, but it also provides the options of greater variety and choice.
Conclusion
Apart from the mentioned factors, it is also advisable to check the safety features, lids, gaskets, knobs, and handles of the canner.
Check whether those features fit your requirements before investing in one. By getting a good pressure canner, you will have a higher chance of reaping the benefits of pressure canning.
Hopefully, this article has enlightened you about everything you need to know about this food preservation method. If you want to get to know more about pressure canning for beginners, do not hesitate to reach out to us!
Resources:

