SHTFDad may collect a share of sales or other compensation from the links on this page.
Have you ever found yourself lost in the wilderness and not knowing how to survive?
It can be a frightening and overwhelming experience. But what if we told you that a simple tool like a bow and arrow could be the key to your survival?
For centuries, hunters have used bows and arrows for hunting and self-defense. But beyond that, they have proven to be a valuable survival tool in extreme situations.
With the right skills and technique, a bow and arrow can help you:
- Catch game for food.
- Make a fire.
- And even make a shelter.
In today’s world, where technology has become the norm, we have lost touch with our primal instincts and basic survival skills.
But as we have seen lately, natural disasters and unexpected events can happen, leaving us without the luxuries of modern conveniences. At times like these, having basic survival skills and tools becomes critical.
So if you ever find yourself lost in the wilderness, don’t panic! Remember that a bow and arrow can be your lifeline to survival.
This text will look at how to make a bow and arrow. We will tell you step by step how you can make a bow and arrow to survive! So don’t delay, hurry up and keep reading!
Gather The Things You Need
Are you thinking about how to make a hunting bow?
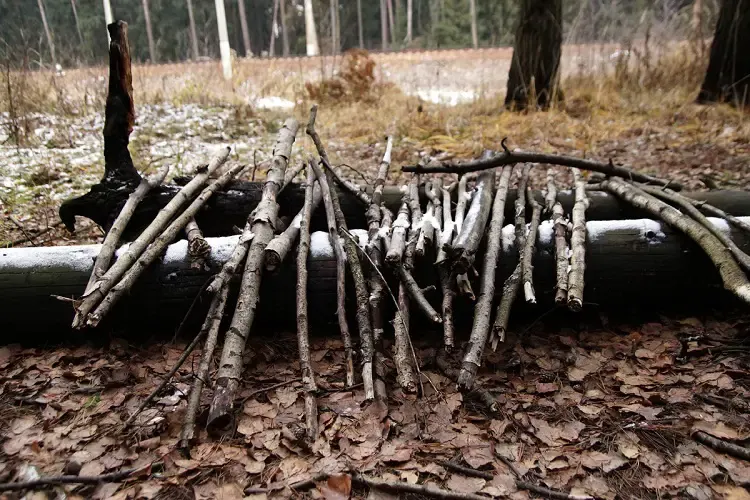
The first thing to do is to gather the necessary materials. You will need a straight and flexible sapling or branch for a bow. Preferably choose a tree such as:
- Hickory
- Ash
- Yew
For the arrow, you will need a straight and sturdy stick. Find feathers and sharp objects such as glass bottles. You can use them to make a point.
Use Charcoal As a Marker
Have you found and gathered the necessary materials for a bow and arrow?
Then it’s time to start on how to make a bow and arrow. You can use charcoal as a marker.
On a piece of charcoal, mark the center and end points of the bow. Also, be sure to measure and mark the length and shape of the arrow.
It will help you maintain symmetry. You can ensure you have aligned the bow and arrows correctly.
Cut Out The Bow
After marking the center and end points of the bow, the next step is to cut out the bow.
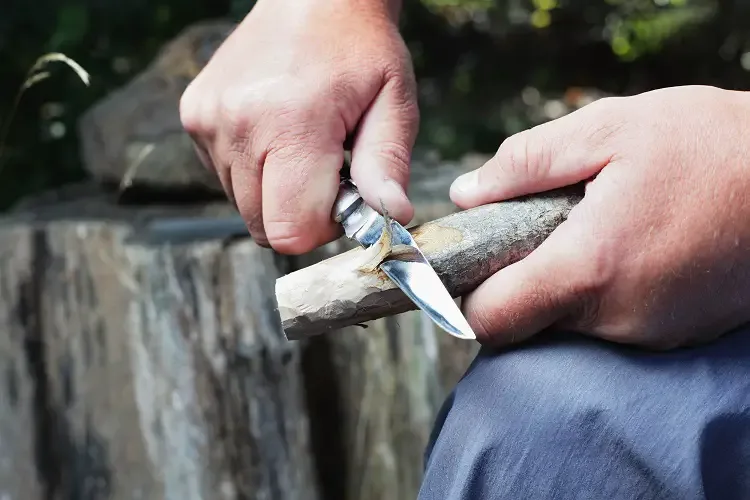
Use a knife or sharp stone to cut out the shape of the bow. Be sure to follow the charcoal lines.
Be sure to remove any bumps and knots that might weaken the bow. Once you have the basic shape, gently bend the bow to test its flexibility.
Make a Notch For The Cord
Have you cut out the bow? Then continue with our easy way to make a bow and arrow.
The next step is to make a notch for the cord. Using a knife or sharp stone, make two notches at each end of the bow. Make sure they are aligned and at the same depth.
These notches will hold the cord. You will use it to tension the bow. Make sure the notches are deep enough to hold the cord securely.
Mix Your Own Glue
Making a bow and arrow is the next step in making your glue. You can make a simple glue yourself.
Heat pine resin to a liquid state. Then add a small amount of animal fat or oil. Mix the ingredients and let them cool.
You can use this glue to attach feathers to an arrow or to strengthen weak points on a bow.
Build Some Arrows
You have almost completely learned how to make a bow and arrow. When the bow is almost ready, the next step is to make the arrows.
Cut straight sticks to the right length and sharpen one end with a knife or sharp stone. Using mixed glue, attach the feathers to the stick’s other end, ensuring they are evenly spaced.
The feathers will allow you to control the direction of the arrow.
Wrap The Arrows With Duct Tape
One of the last steps of how to make a hunting bow is to wrap duct tape around the arrows.
It will give weight to the front of the arrow, improve accuracy, and make it easier to aim.
Start at the base of the feathers and wrap the tape tightly around the shaft, spiraling it toward the point.
When you reach the desired point, cut the excess tape, and your arrow is ready.
Turn The Cord Into a Bowstring
Before using your bow, turn the cord into a bowstring. Cut a cord slightly longer than your bow and tie loops on each end.
Attach one loop to one end of the bow and twist the cord around the bow several times.
Repeat this process with the other end of the bow, ensuring the cord is taut and properly stretched. You have almost finished the easy way to make a bow and arrow.
Make Arrowheads Out of Glass Bottles
And now, it’s time for the last step in how to make a bow and arrow. You have to make arrowheads and attach them.
You can make them out of glass bottles. Heat the bottom of the glass bottle on the fire until it is red-hot.
Then use pliers to twist it and shape it into a point. Allow the glass to cool, then attach the point to the end of the arrow with mixed glue.
Final Word
Making a bow and arrow can be a fun and rewarding experience, especially if you find yourself lost in the wilderness.
Following these steps and using the resources around you can create a useful tool for hunting, survival, or just a fun activity with friends.
Don’t forget to practice your aim and accuracy to become a master! Remember about your safe keeping! Have fun and be safe! Enjoy your bow and arrow!
Resources:


